
Smartphone is becoming a common device day-by-day. Each time a new smartphone is launched, it is having an added feature in it. But there are some basic features which everyone should know. These basic features play a crucial role in some situations. Let’s learn How to take screenshot on Android phones.
There are multiple ways to take screenshots on Android Phone. You can use different ways to take different types of screenshots, But I’ll be discussing only one method in this article.
Let’s understand the step-by-step process.
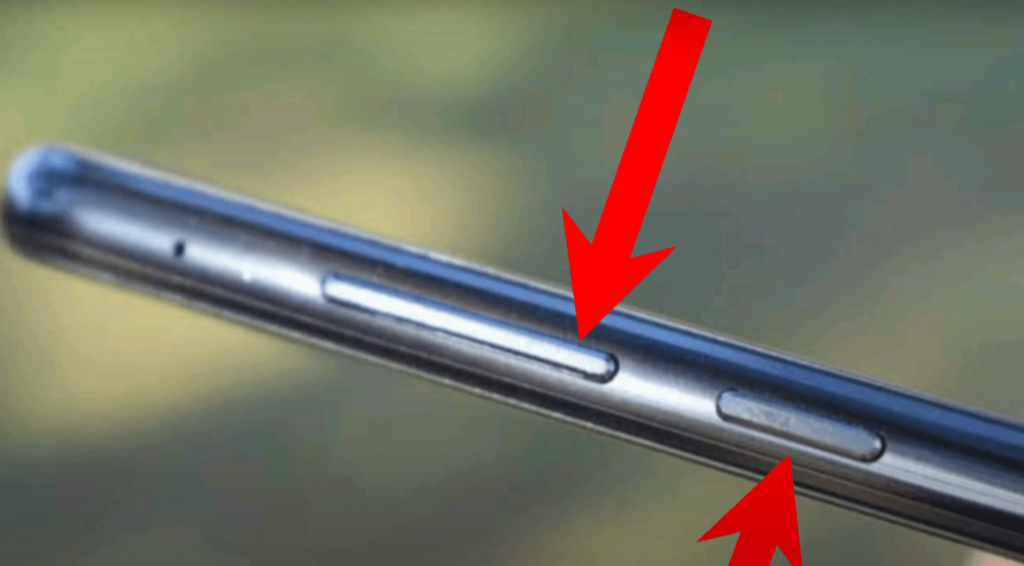
- Press (Power) + (Down) Volume button simultaneously to take screenshot of the mobile screen.
- Find the screenshot in the gallery section in “Screenshot” folder.
If Shortcut button doesn’t work
If the shortcut given above doesn’t work that means You need to activate it. The process of activating the screenshot feature is given below.
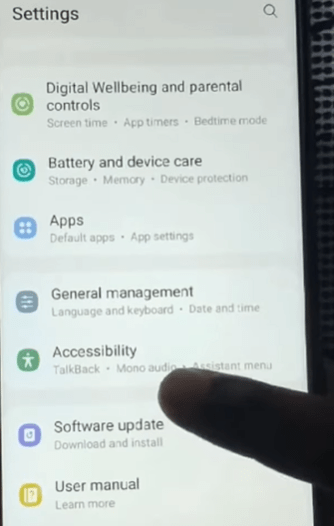
- Click Settings icon either from “Notification bar” or from “Menu”
- Tap the “Accessibility” option from the Settings list
- Now Click “Advanced Settings” option from Accessibility section

- Click “Accessibility Button” option from Advanced settings list

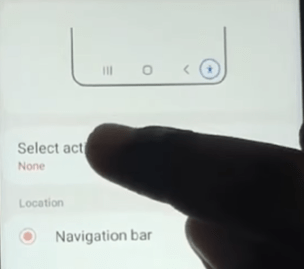
- Now Tap “Select Actions” option
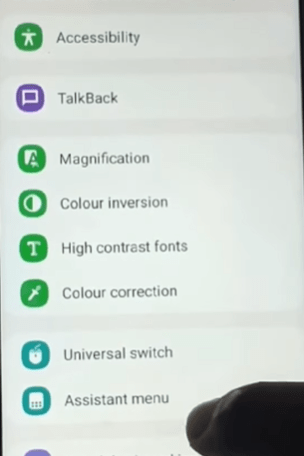
- Find “Assistant Menu” option from the Select actions list
- Now Click “Allow” option on the Popup message
- Now You can see an extra sign Added at the bottom right corner of the screen.
- You can click to open up a new icon
- Now You can tap the new icon to get Screenshot option in it.
- Click the Screenshot option to take Screenshot of any screen on the same Android phone.